
First five minutes: protect, assess, and call
Your dog steps on broken glass during a walk. Your cat knocks over a bottle of cleaner. A child sees the injury first and calls for help. In that moment, the best pet first aid supply is a calm plan. A kit cannot replace a veterinarian, but it can help you control bleeding, protect a wound, and transport an injured animal safely.
Start with distance
Move the pet away from traffic, broken objects, chemicals, heat, or other animals. Pain can make a gentle pet bite or scratch. Do not put your fingers into a conscious pet’s mouth, and do not hug an animal that is frightened or having trouble breathing. Keep children back while one adult manages the pet.
Use a simple triage order
Look at breathing, major bleeding, consciousness, and mobility. Call your veterinarian or an emergency animal hospital immediately if the pet collapses, cannot breathe normally, has uncontrolled bleeding, suffers a seizure, shows signs of heatstroke, or may have swallowed a toxin. Tell the clinic the species, age, weight, symptoms, and what happened. The AVMA pet first aid guidance stresses that first aid only supports an animal until professional care is available. That is the right mindset: stabilize, then travel.
How to control bleeding without making a wound worse
The clear recommendation is simple: use steady direct pressure with clean gauze or cloth before you try to clean anything. Scrubbing, lifting the pad every few seconds, or pouring harsh liquids into a deep wound can restart bleeding and damage tissue.
Pressure comes first
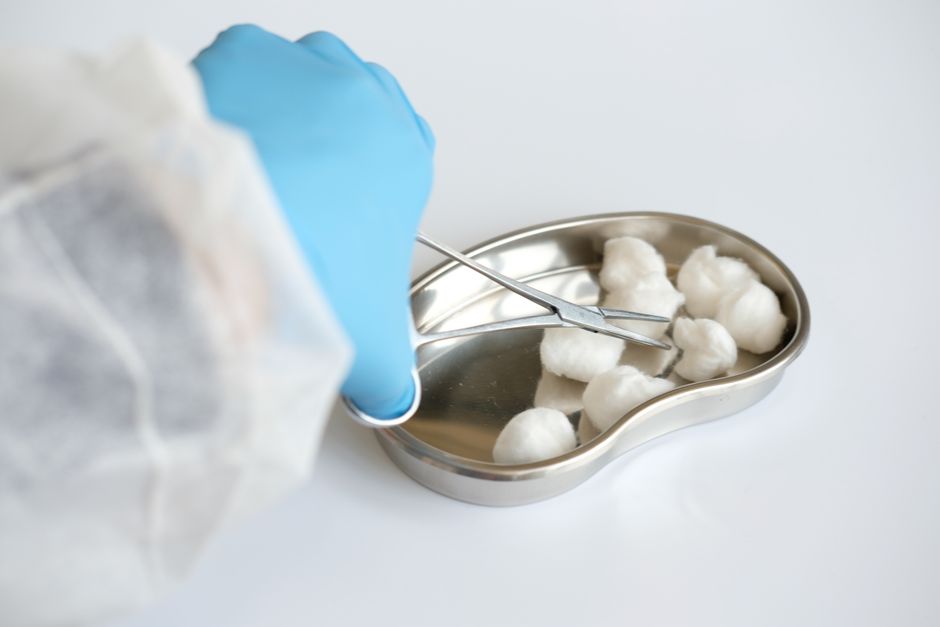
Place a sterile gauze pad or clean folded cloth over the wound. Press firmly for five full minutes without checking underneath. If blood soaks through, add another pad on top. Do not remove the first layer. For a small broken nail, styptic powder can help stop surface bleeding. Apply it only to the nail tip, not into a deep cut or open body wound.
Wrap lightly for transport
Once bleeding slows, cover the area with a non-stick pad and a self-adhering bandage. The wrap should stay secure without squeezing the limb. Check the toes after a few minutes. Cold, swollen, pale, or blue toes mean the bandage is too tight and needs immediate loosening. Avoid adhesive tape directly on fur. Never try to push exposed bone or tissue back into place, and never use a homemade splint on a limb that looks deformed unless an emergency veterinarian instructs you.
Deep punctures, bites, chest wounds, heavy bleeding, and wounds near the eye need urgent veterinary attention even if the bleeding appears controlled.
The seven supply groups that earn space in every kit
A useful kit is built around common problems, not a large piece count. These seven groups cover the first minutes of most minor injuries and make a veterinary visit easier.
- Gloves: Keep several pairs of nitrile gloves to protect your hands and reduce contamination. Nitrile works well for people with latex sensitivity.
- Gauze and non-stick pads: Pack 2-by-2-inch and 4-by-4-inch gauze, rolled gauze, and non-adherent pads. Small pads suit cats and small dogs; larger pads help with broad scrapes.
- Self-adhering bandage: A two-inch cohesive wrap sticks to itself rather than fur. Keep multiple rolls because one injury can use more material than expected.
- Sterile saline: Use plain sterile saline for flushing dirt from superficial wounds or rinsing an irritated eye while you call the vet.
- Thermometer and lubricant: A digital rectal thermometer can provide useful information if your veterinarian asks for a temperature. Never force it, and never take a rectal temperature from a struggling animal.
- Tweezers, scissors, and tick remover: Blunt-tip scissors help cut fabric or fur away from a wound. Tweezers remove visible splinters or debris. Use a tick tool rather than crushing an attached tick.
- Restraint and comfort items: Add a leash, carrier, towel, flashlight, emergency blanket, and a soft muzzle for a dog that may bite from pain. Do not muzzle an animal that is vomiting, unconscious, or struggling to breathe.
Store the supplies in a waterproof pouch that every adult in the home can find quickly. The American Red Cross pet checklist follows the same practical approach.
Which premade pet first aid kit is the best starting point?
For most families, the best starting point is a compact kit with real gauze, a cohesive bandage, saline, gloves, scissors, and instructions. A high piece count means little if the case contains tiny low-use items but no useful wound dressing. These current examples show the tradeoffs clearly.
| Kit | Listed price | Useful details | Best choice for |
|---|---|---|---|
| Kurgo Dog First Aid Kit | $29.95 | 50 pieces, three mesh compartments, 600D Oxford fabric, trauma pad, gauze, tape, cold pack, gloves, and guide | Home or car dog kit |
| Adventure Medical Kits Trail Dog | $32.29 sale; $37.99 list | 12 ounces, 7.5 by 5.3 by 1.5 inches, waterproof DryFlex bag, saline, wound irrigator, tick forceps, and handbook | Hiking and camping |
| PacKit First Aid Kit for Dogs, Large | $29.99 | 48 pieces, compact orange case, dual compartments, wound wash, gauze, tick remover, and guide | Budget travel backup |
| PetVet Medic Essential First Aid Kit | $39.99 | Designed for dogs and cats, with supplies for cuts, paws, ticks, eye irritation, and travel emergencies | Mixed-pet households |
The clearest verdict
Choose the PetVet Medic Essential First Aid Kit for a home with both dogs and cats because it is specifically listed for both species. Choose the Adventure Medical Kits Trail Dog for outdoor use because its 12-ounce waterproof format is easier to carry. The Kurgo Dog First Aid Kit is the value pick for a dog-only household, while the PacKit is a sensible second kit for the car.
How to use saline, gauze, and cold packs safely
Saline, gauze, and a cold pack are the safest core tools for many minor incidents, but they work only when used for the right problem. The goal is to remove surface contamination, limit swelling, and protect tissue while arranging veterinary care. The wrong goal is to make a serious wound look normal at home.
Eyes, paws, and surface scrapes
For dust or a mild irritant in the eye, hold the eye open gently and flush with plain sterile saline. Do not use contact-lens solution that contains added cleaners, and do not pull out a sharp object stuck in the eye. Squinting, cloudiness, bleeding, swelling, or continued rubbing requires urgent veterinary care.
For a dirty paw pad or shallow scrape, rinse with saline and pat dry with gauze. Look between the toes for glass, thorns, or a torn nail. Remove only debris that is loose and easy to grasp. A deep object needs a clinic, where the animal can receive pain control and proper examination. Cover a cleaned paw with a non-stick pad and loose cohesive wrap for the journey. Keep the pet from licking it.
Swelling, burns, and suspected heat injury
Wrap a cold pack in a towel and apply it near a mild bruise or swelling for about 10 minutes. Never put frozen material directly on skin. For a small thermal burn, cool the area with clean, cool running water and call the veterinarian. Do not apply butter, ice, thick ointment, or household chemicals.
Heatstroke is not a home first aid project. Move the pet into shade, start gentle cooling with cool water, and call an emergency clinic while traveling. Do not force water into a weak or confused animal. A kit helps with the first step, but breathing changes, pale gums, collapse, and severe pain require immediate professional treatment.
What not to put in a pet first aid kit
The strongest safety advice is to keep human medicines and improvised remedies out of the kit unless your veterinarian has specifically approved them for that pet. A familiar household product can cause a second emergency.
- No human painkillers: Ibuprofen, naproxen, and acetaminophen can seriously harm pets. Never guess a dose from a human label.
- No automatic vomiting remedy: Do not give hydrogen peroxide, salt, milk, oil, or another substance to make a pet vomit. Call a veterinarian or animal poison service first. Some toxins burn the throat, and vomiting can cause aspiration.
- No alcohol or harsh disinfectant in open wounds: These products irritate tissue and slow healing. Plain sterile saline is the safer first rinse.
- No tight wraps: A bandage that looks secure can cut off circulation within minutes. Check toes and loosen it if they become cold, swollen, or discolored.
- No force: Do not wrestle a conscious cat with breathing trouble or pull a lodged object from the mouth. Protect yourself, keep the pet still, and get professional help.
A written list of medications, allergies, chronic conditions, and the pet’s current weight belongs in the kit. That information is often more useful than another packet of ointment.
How to keep the kit ready for a real emergency
My recommendation is to keep one complete kit at home and a smaller duplicate in the car if your family travels with pets. A kit that sits in a hot trunk, loses its flashlight batteries, or contains expired saline is not ready when needed.
Label the pouch for fast access
Mark it PET FIRST AID in large letters. Store it near the leash, carrier, or emergency supplies rather than deep in a bathroom cabinet. Put the emergency veterinarian, regular veterinarian, poison service, and nearest 24-hour animal hospital on a card inside and in every adult’s phone.
Check it twice a year
Every six months, replace opened saline, expired items, used gauze, dead batteries, and damaged gloves. Confirm that the leash fits the pet and that the carrier still works. Weigh the animal if your veterinarian needs an updated medication or poison-control calculation.
Pick one kit and learn it
For most mixed dog-and-cat homes, the PetVet Medic Essential First Aid Kit is the clearest ready-made choice at its listed $39.99 price because it covers both species and includes a written guide. Add extra sterile saline, gauze, your pet’s records, and prescribed medication. For a dog that hikes, the Adventure Medical Kits Trail Dog is the better outdoor pick. The winning setup is the one your family can reach, recognize, and use while the veterinary clinic is already on the phone.