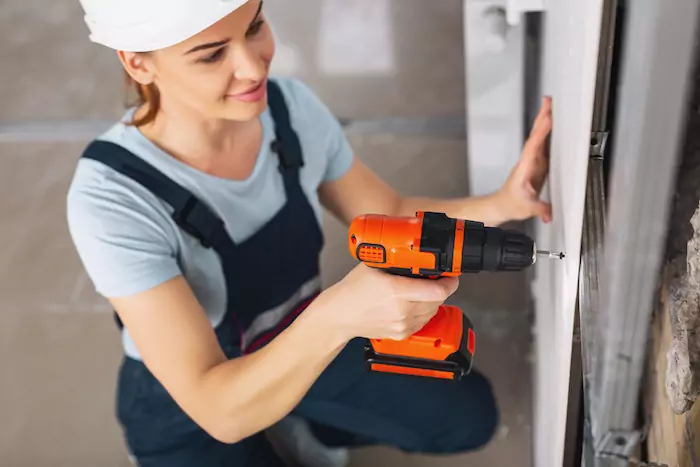
Whether you’re making a few repairs around the home or taking on a bigger task, there’s a certain satisfaction that comes from completing a project with your own two hands. Whatever the job, you’ll usually find that a drill is the trusty tool that’s relied upon to get great results.
But for those new to the world of power tools, using this piece of equipment can seem daunting. If you need an extra confidence boost, our top tips are sure to help.
How To Use A Drill For Your House Projects
Choosing your drill
The market boasts a wide range of drills, so picking the right one depends on your project scope. For light tasks like driving screws or drilling into wood, a cordless option with an 18V battery is a perfect choice. Many brands offer these and they’re usually lightweight, manoeuvrable and ideal for most household jobs.
Tougher jobs like masonry or concrete are more likely to require a corded hammer alternative with extra power. Checking reviews and comparing features before you buy is key to finding one that suits your needs and budget.

Safety first
Before starting any project, invest in proper personal protective equipment (PPE). Safety glasses will shield your eyes from flying debris, while ear defenders are a must to protect your hearing. Don’t forget a dust mask to keep dust particles out of your lungs, particularly when drilling into plaster or masonry.
It’s also vital to be aware of electrical hazards, especially when using corded tools. Always make sure to unplug corded equipment from the mains before reaching for the switch while the bit is in the material to prevent potential injury.
Mastering the drill bit
Different materials require different bits to create clean, precise holes. Wood drill bits, with their sharp points and threaded shanks, are designed specifically for timber. Those for metal ones are tougher and feature a pilot point to prevent slipping on the metal surface. For masonry, flat-faced masonry bits are ideal as they can handle the harder materials without breaking.
Be sure to choose reliable options such as a Milwaukee drill bit set from a reputable supplier and check the recommended size for your project.

Marking and measuring
Precision is key to a successful drilling project so use a sharp pencil to mark the exact location of your holes. This will help you maintain a clean, professional finish. A spirit level ensures they’re perfectly straight, which is especially important for shelves, curtain rails or picture frames.
Drilling like a pro
Once you’ve prepped your work area, it’s time to begin drilling. Secure your workpiece with clamps if necessary and start drilling slowly, applying gentle pressure to keep the bit centred in the marked location.
Avoid forcing the bit through the material, as this can damage it, as well as the drill itself. For long holes, take breaks to allow the bit to cool down to prevent overheating and ensure it retains its sharpness.
If you take your time and follow these steps, you’ll be a DIY expert in no time. But, if you’re planning a large project or you’re unsure about any aspect, it’s important to consult a professional to prevent damage to your home or injury.

Conclusion
Mastering the use of a drill can greatly enhance your ability to tackle various house projects with confidence and precision. By choosing the right drill, prioritizing safety, understanding different drill bits, and accurately marking and measuring, you can achieve professional results. With these skills, you’ll be well-equipped to handle any DIY task, making home improvement projects more efficient and enjoyable. Embrace these tips and start drilling like a pro!

