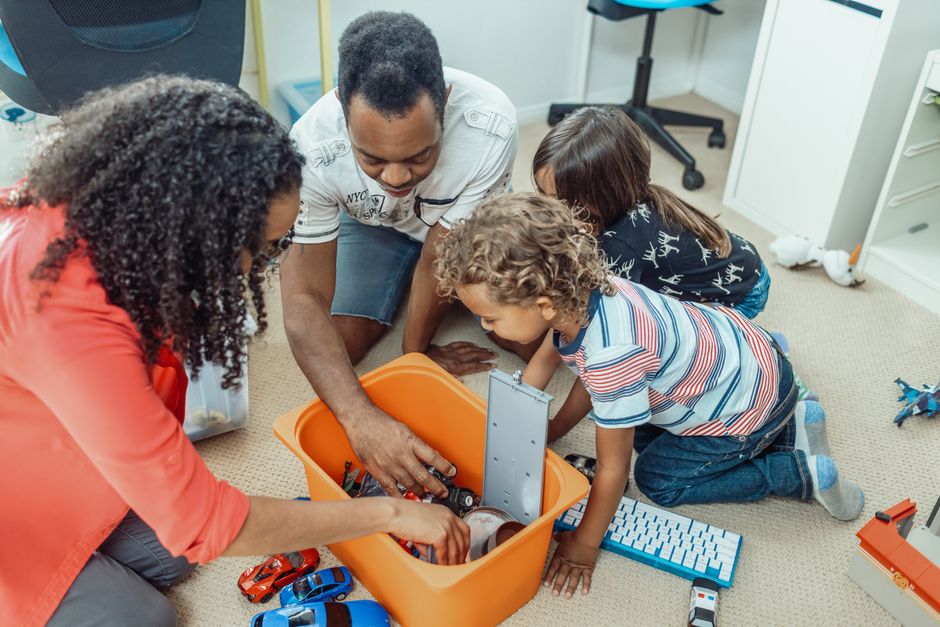
You know that moment when you drop $40 on a “STEM kit” and your kid plays with the cardboard box for an hour instead? That was me. Three times. Then I realized the best science experiments are already sitting in my kitchen cabinet. I’ve been running these 10 activities with my 4-year-old for six months now. No special equipment. No instruction manuals. Just stuff you already own.
Building a Baking Soda Volcano That Actually Works
This is the classic for a reason. But most people mess it up. They use a narrow bottle opening, the reaction fizzes for two seconds, and the kid is disappointed. Here’s the fix.
The Right Container Matters
Use a wide-mouth mason jar or a small plastic bowl. Narrow necks trap the gas and kill the eruption. I use a 500ml glass measuring cup — the kind every kitchen has. It creates a 15-second eruption instead of a 3-second fizzle.
The Exact Recipe for Maximum Reaction
- 1/2 cup baking soda (not 1/4 — that’s too weak)
- 1 cup white vinegar
- 3 drops dish soap (this traps the CO2 bubbles and makes lava)
- Red food coloring (optional, but my kid demands it)
Pour the baking soda into the container. Add dish soap and food coloring. Then pour the vinegar in one go. Stand back. The reaction produces about 2 liters of foam. That’s enough for a preschooler to watch and say “again” five times.
What This Teaches
This is a chemical reaction — acid (vinegar) plus base (baking soda) produces carbon dioxide gas. My daughter now knows the word “reaction” and uses it correctly. That’s worth more than any kit.
Building a Marshmallow Tower Without Collapse
Engineering for preschoolers needs to be tactile. Dry spaghetti and mini marshmallows are my go-to. But the towers always fall. Here’s why.
The Geometry Problem
Kids naturally build straight up. That’s a disaster. The tower wobbles at 6 inches and collapses at 8. You need a triangular base. I show my daughter how to make a triangle with three spaghetti strands and marshmallow corners. That base alone triples the height she can reach.
My Daughter’s Record: 23 Inches
We use 1 box of spaghetti (Barilla, $1.50) and 1 bag of mini marshmallows (Kraft Jet-Puffed, $2.50). The trick is letting the marshmallows dry for 10 minutes after assembly — they get tacky and hold better. She built a 23-inch tower that stood for 4 hours before my dog knocked it over.
Common Failure Modes
- Using stale marshmallows (they don’t grip)
- Spaghetti breaks if you push too hard (show them to twist gently)
- Building on carpet (the base sinks — use a hard table)
Making a Rainbow Density Tower in a Glass
This one blows every kid’s mind. You layer liquids of different densities in a clear glass. They don’t mix. It looks like magic. It’s actually physics.
The 5-Layer Recipe
You need a tall, clear glass (I use a 16oz pint glass from IKEA). Layer these in order, pouring slowly down the side of the glass:
- Honey (1/4 cup, densest)
- Dish soap (blue or green, 1/4 cup)
- Water colored with food coloring (1/4 cup)
- Vegetable oil (1/4 cup)
- Rubbing alcohol colored with different food coloring (1/4 cup, least dense)
Pour the honey first. Then pour each next layer over the back of a spoon so it doesn’t disturb the layer below. The result is five distinct colored bands. My daughter calls it “the rainbow drink” and asks to do it every week.
Why It Works
Each liquid has a different density — mass per volume. Honey is the heaviest for its size, so it sinks. Alcohol is the lightest, so it floats. This is the same principle that makes oil float on water in salad dressing. Now she knows why.
Static Electricity Butterfly Experiment
This is a 2-minute setup with a 10-minute attention span. Perfect for preschoolers.
What You Need
Tissue paper (any color), a pipe cleaner, a balloon, and your hair. Cut the tissue paper into a butterfly shape — two wings and a body. Wrap the pipe cleaner around the middle for the body and antennae. Then inflate the balloon and rub it on your hair for 10 seconds.
The Reaction
Hold the balloon near the tissue butterfly. The wings lift and follow the balloon around. It looks like the butterfly is flying. The static charge from the balloon attracts the lightweight tissue paper. My kid runs around the house with the balloon chasing the butterfly for a solid 20 minutes.
What They’re Learning
Static electricity — the transfer of electrons from your hair to the balloon creates a negative charge. Opposite charges attract. The tissue paper has a neutral charge, so it’s attracted to the negative balloon. You don’t need to explain electrons. Just say “the balloon is sticky with electricity” and that’s enough.
The Paper Bridge Weight Test
This teaches structural engineering with nothing but paper, tape, and pennies. I do this when I need 30 minutes of quiet.
Setup in 2 Minutes
Place two cereal boxes 6 inches apart. Lay a piece of printer paper across the gap. Start adding pennies one by one. The paper collapses at about 10-15 pennies. Then ask your child: “How can we make it stronger?”
The Three Solutions We Found
| Method | Pennies Held | Time to Build |
|---|---|---|
| Flat paper (control) | 12 pennies | 10 seconds |
| Paper folded into accordion pleats | 47 pennies | 1 minute |
| Paper rolled into tubes, taped together | 83 pennies | 3 minutes |
| Paper folded into a triangle beam | 62 pennies | 2 minutes |
The accordion fold is the fastest and most dramatic improvement. My daughter now folds pleats into everything — birthday cards, drawings, her sandwich wrapper. She’s learning that shape determines strength, which is the core of every bridge and building.
Homemade Lava Lamp That Lasts All Day
This is the one activity I keep coming back to because it’s visually stunning and runs for hours. You need a clear plastic bottle (1-liter soda bottle works), vegetable oil, water, food coloring, and Alka-Seltzer tablets.
The Exact Process
Fill the bottle 1/4 full with water. Add 10 drops of food coloring (red or blue works best). Fill the rest of the bottle with vegetable oil — leave 1 inch of air at the top. Break an Alka-Seltzer tablet into 4 pieces. Drop one piece in. Watch the colored water rise and fall through the oil like a lava lamp for about 5 minutes. Add another piece when it stops.
Why It’s Better Than a Real Lava Lamp
A real lava lamp costs $25 and uses a heat bulb that can burn little fingers. This version is $1.50, uses no electricity, and is completely safe. The reaction is carbon dioxide bubbles from the Alka-Seltzer carrying colored water up through the oil. When the bubble pops at the top, the water sinks back down. Repeat until the tablet dissolves.
My Recommendation
If you do one activity from this list, do the lava lamp. It’s the most engaging for the longest time. My daughter watched it for 45 minutes the first time. She asked questions about bubbles, sinking, and floating. That’s real learning, and it cost me nothing I didn’t already have.